Account & Team Setup
An Organizational Unit (OU) is your team's workspace in Cronofy. This article covers setting up and managing your OU, adding and managing team members and their roles, billing, branding, and the reports available to owners and scheduler admins.

How do I create an OU?
When creating an account with Cronofy, you will be prompted to create an OU before finishing your setup, by giving it a name. You can later change this in the settings if you wish to.
If you already have an OU and want to create a new one, you can:
Navigate to the bottom right-hand corner and click on your username, then click on the Create a new Organisational Unit.
How do I join an OU?
You can join an OU by being invited. An OU owner will send you an invitation via email through the members tab. You’ll need to contact them to arrange this.
Alternatively, if they’ve enabled Domain sign-up, you can automatically join the OU once you create an account.
How do I leave an OU?
You can leave an OU by going to (Your OU name) Setting, clicking the admin tab and then the red box “Leave OU“.
Note: If you are the only owner in the OU it will not be possible to leave, you either need to designate another user with the owner role, or reach out to support to have your OU off-boarded.
How do I off-board an OU?
Cronofy is a pay as use product, so as long as it’s not used, you will not be charged. In the event however that you would like to remove your OU completely you can reach out to our Support and we will get this sorted for you.
Note: we cannot close individual accounts on behalf of someone else, only the OU and the requestors account.
The main tabs of an organisation unit at a glance:
You can find your settings on the left hand side on your Cronofy page. From here you’ll find three main tabs:
Accounts: were you can add/manage users and rooms along with service accounts for syncing your directory.
Scheduling: here are the main scheduler settings for your organisation, setup your groups, templates and workflows.
Admin: add and manage your branding, setup integrations, billing, service account setup( via a workflow) and reports.
Can’t see some of these? Speak to your company admin about changing your role.
What is a selection rule?
Groups are called selection rules in Cronofy and can be used along with templates or scheduling requests. These create user pools that can be used for scheduling events with multiple users, like panel interviews. These can have 1 or multiple mandatory attendees from the group and will be selected in a round robin fashion.
How do I setup groups?
On the left hand tab you can see your Organizational Unit Settings based on the name of your OU.
To create a group (selection rule) you can click on:
- (Name of your OU) Settings > Scheduling > Selection Rules.
- Click Create Selection Rule, you will then first choose a name for your group.
- You can now choose any members from your Organizational Unit by searching them and clicking on them.
If you wish to add these users in bulk please reach out to our support.
The required field:
Specifies the number of users needed for mandatory attendance based on the selection rule. Users are chosen randomly but the system attempts to cycle fairly through all users included in the rule.
The pool now appears in Selection Rules and can be added to any Templates or Scheduling request.

How do I create workflows in my OU?
Please reach out to our support for more information.
Can I setup custom branding for my scheduling links?
You can edit the scheduling slot selector page your invitees will see when accessing a public link or a scheduling request. These are unique to each OU you have and can be edited by accessing:
Admin -> Branding
From here you have some color, font and logo options which you can edit if you have the owner or scheduler admin role.
Next to these options you will see a live preview of how the page will look.
- You can use the primary and secondary colors to match your branding color scheme with the CSS Hex codes.
- You can choose from the provided fonts, or request one to be added via our support. However, please note that some fonts are not available for addition.
- Should be a PNG, SVG or JPEG file, less than 1MB. For best results, use a square image at least 350 x 350px.
If you belong to multiple Organizational Units, choose a “Primary Organizational Unit” to determine the branding of your Public Link.

How do I setup my billing?
After your 14-day free trial you will need to setup billing in order to continue to use Cronofy.
You start by adding your billing details in the Organizational Unit.
OU Settings → Admin → Billing click on Setup billing.
Billing details can only be edited only by a billing owner, this is a special role that is assigned to the person that created the organizational unit.
This role cannot be assigned by any user and need to be specially assigned by our support. Please reach out if you need this changed.
How do I change my card details?
Card details can be edited in the billing plan in the billing tab. From here a billing admin can change the details.
Billing details can only be edited only by a billing owner, this is a special role that is assigned to the person that created the organizational unit.
This role cannot be assigned by any user and need to be specially assigned by our support. Please reach out if you need this changed.
How do I manually add members in my OU?
This is the standard way to invite users to your OU (Organisational Unit). To invite users manually head to:
OU settings -> Members -> Users
Scroll all the way down and select Invite Users. This will open the the invite tab (see screenshot) Now you can enter the emails (up to 20 at a time) of the users you want to invite to your OU.
Bellow that you will find the roles selector which determines the role if the users you invite.
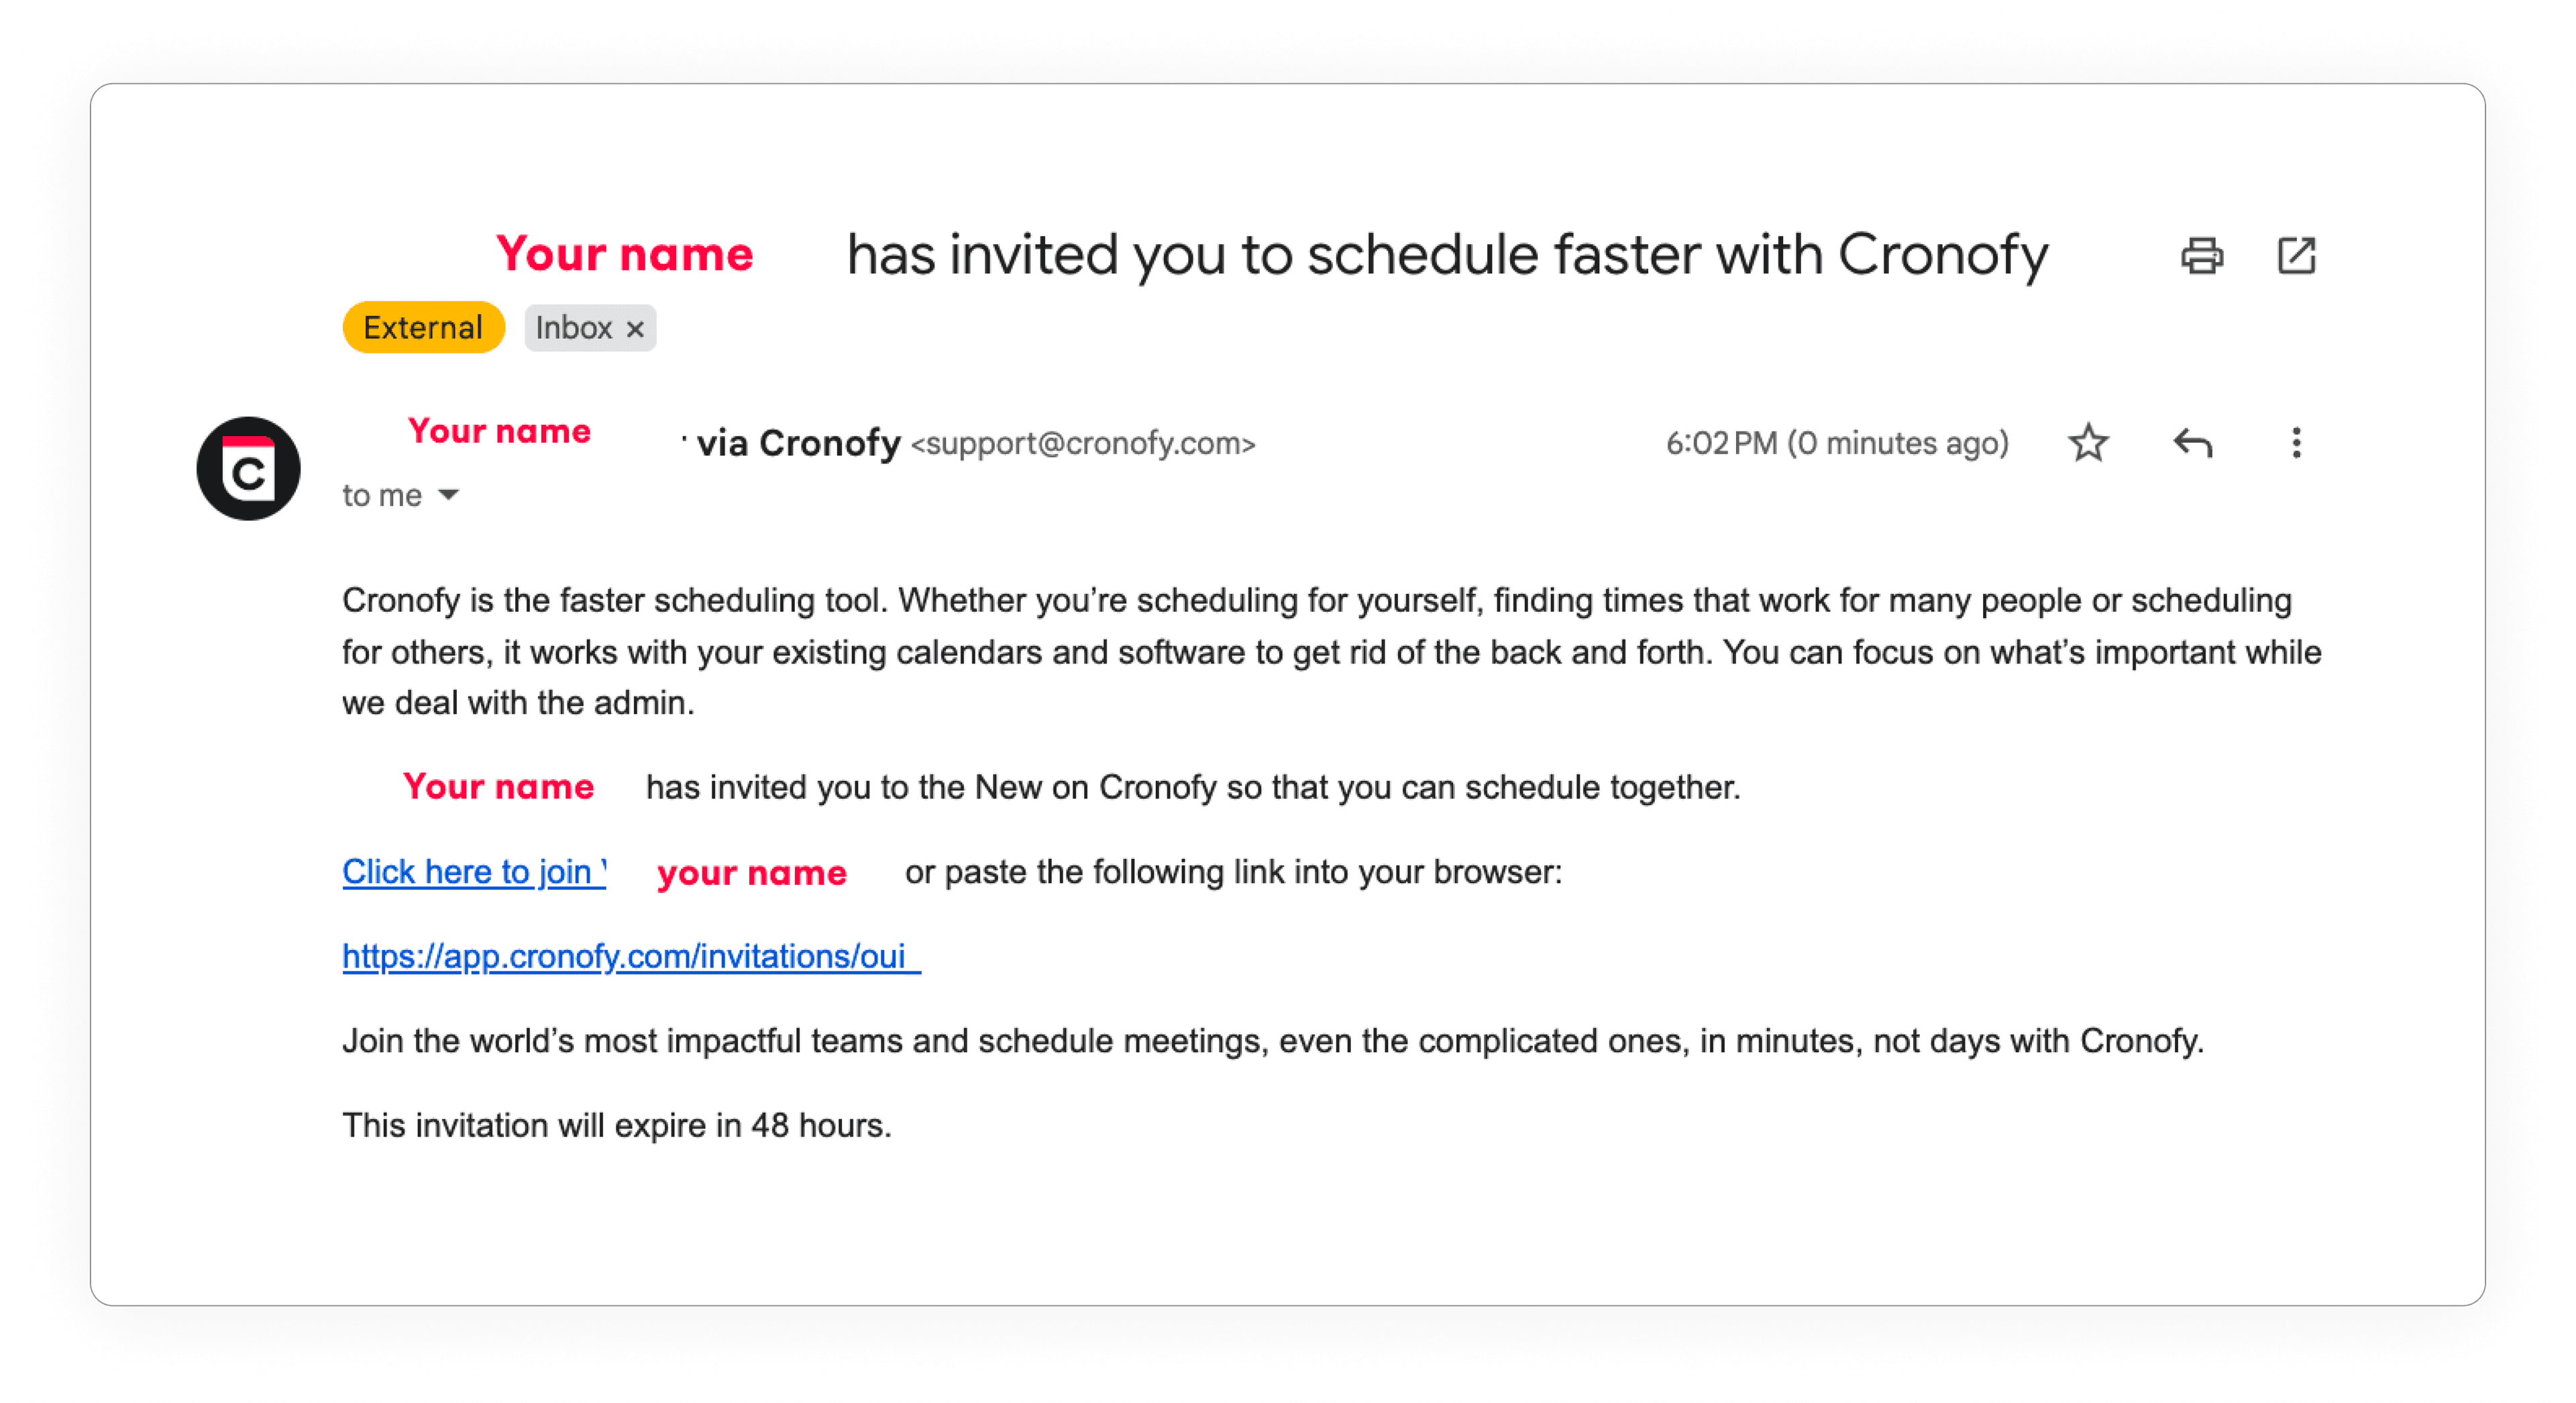
The users will then receive an email prompting them to accept your invite, which is valid for 48hrs.

How do I automatically add members in my OU?
You can skip sending invites to your team and allow any coworkers who share your email domain to join your OU by enabling Domain Sign Up.
To enable Domain sign up, you need to click on your OU on the left hand panel. Then you select scheduling>settings.
Simply click on the tickbox and the option is enabled.
Only Owners can do this.

Our Enterprise Connect function allows you to connect a service account via MS365 or Google Workspace, quick and easy without extra cost. From there you have the option of full or partial directory syncs.
The service account will auto-generate Cronofy accounts for your users without them having to accept email invitations or sign-up themselves.
Where do I manage users?
In the members section, in your OU.
OU settings -> Members
As a scheduler admin or owner in Cronofy you have the ability to change roles and set availability for your users. To do this, you need to navigate to the Members section in Cronofy.
- Role changes: Click the role dropdown and update the current role for the user you selected, then click save to confirm your choice.
- Availability preferences: You can set the users availability as you would in your own preferences, and/or set the Interview Times to block certain times for specific types of events.
- Changes to the user's time zone and the addition of extra calendars (for shared availability) can be managed here, provided that the calendars are already linked to the user's account.
Don't forget to click SAVE after undergoing a change.
Some setting cannot be edited yet from the members section, so you might want to do this in bulk or on behalf of interviewers so they don't need to go into Cronofy themselves. For this you need to reach out to our Support.
We can bulk update for everyone at once like: Buffers, minimum notice and limits
How do I remove a user?
To remove users from your organization in Cronofy, you need to have the owner role. If you are an owner you can click on any user from your member section and scroll all the way down.
Click on the Remove account from Organizational Unit button.
You’ll then be redirected to the user’s page, where you’ll see their involvement in selection rules and templates. If you choose to remove the user, we’ll also remove them from any selection rules and set the templates as “no host” if they’re the only host.

How do I update my scheduling preferences?
Availability: This is the time you will be available for interviews and other events planned with Cronofy. Options include :
- Time Buffers between appointments.
- Times you are available during the day. (Default is 9am-5pm / Mon-Fri)
- Minimum notice, how long beforehand you want people to be able to book with you.
Event details: Here you set options for where the events are taking place, virtually and physically:
- Set in which calendar the appointments should reside.
- Setup your prefered Conferencing service.
- Location of the meeting and more.
Public Link: This a static link allows anyone to book an event with you according to your Preferences. This is perfect if you need to reuse it for multiple bookings. Anyone visiting the link will be required to enter their details before their meeting is scheduled, as shown below.
How do I update preferences of another member?
Manage team members in the Members -> Users section on your organisational settings.
Owners can change the availability of a member by setting their working hours or interview time placeholders. In addition you can view your members buffer times and minimum notice.
{Your Org Name} Settings -> Members -> Users
Click on a user from the list to view and adjust their availability or update their role as needed.
What do the user roles in Cronofy do?
What reports can I download?
You have access to the following reports in Cronofy for downloading:
Request report
OU settings → Admin → Reports
Members report
Download a report of the members of your Organizational Unit, along with their Scheduler event limits.
Can I have an overview of my users availability?
Availability reports give OU owners and scheduler admins insights into their team member's weekly availability slots for the next four weeks.